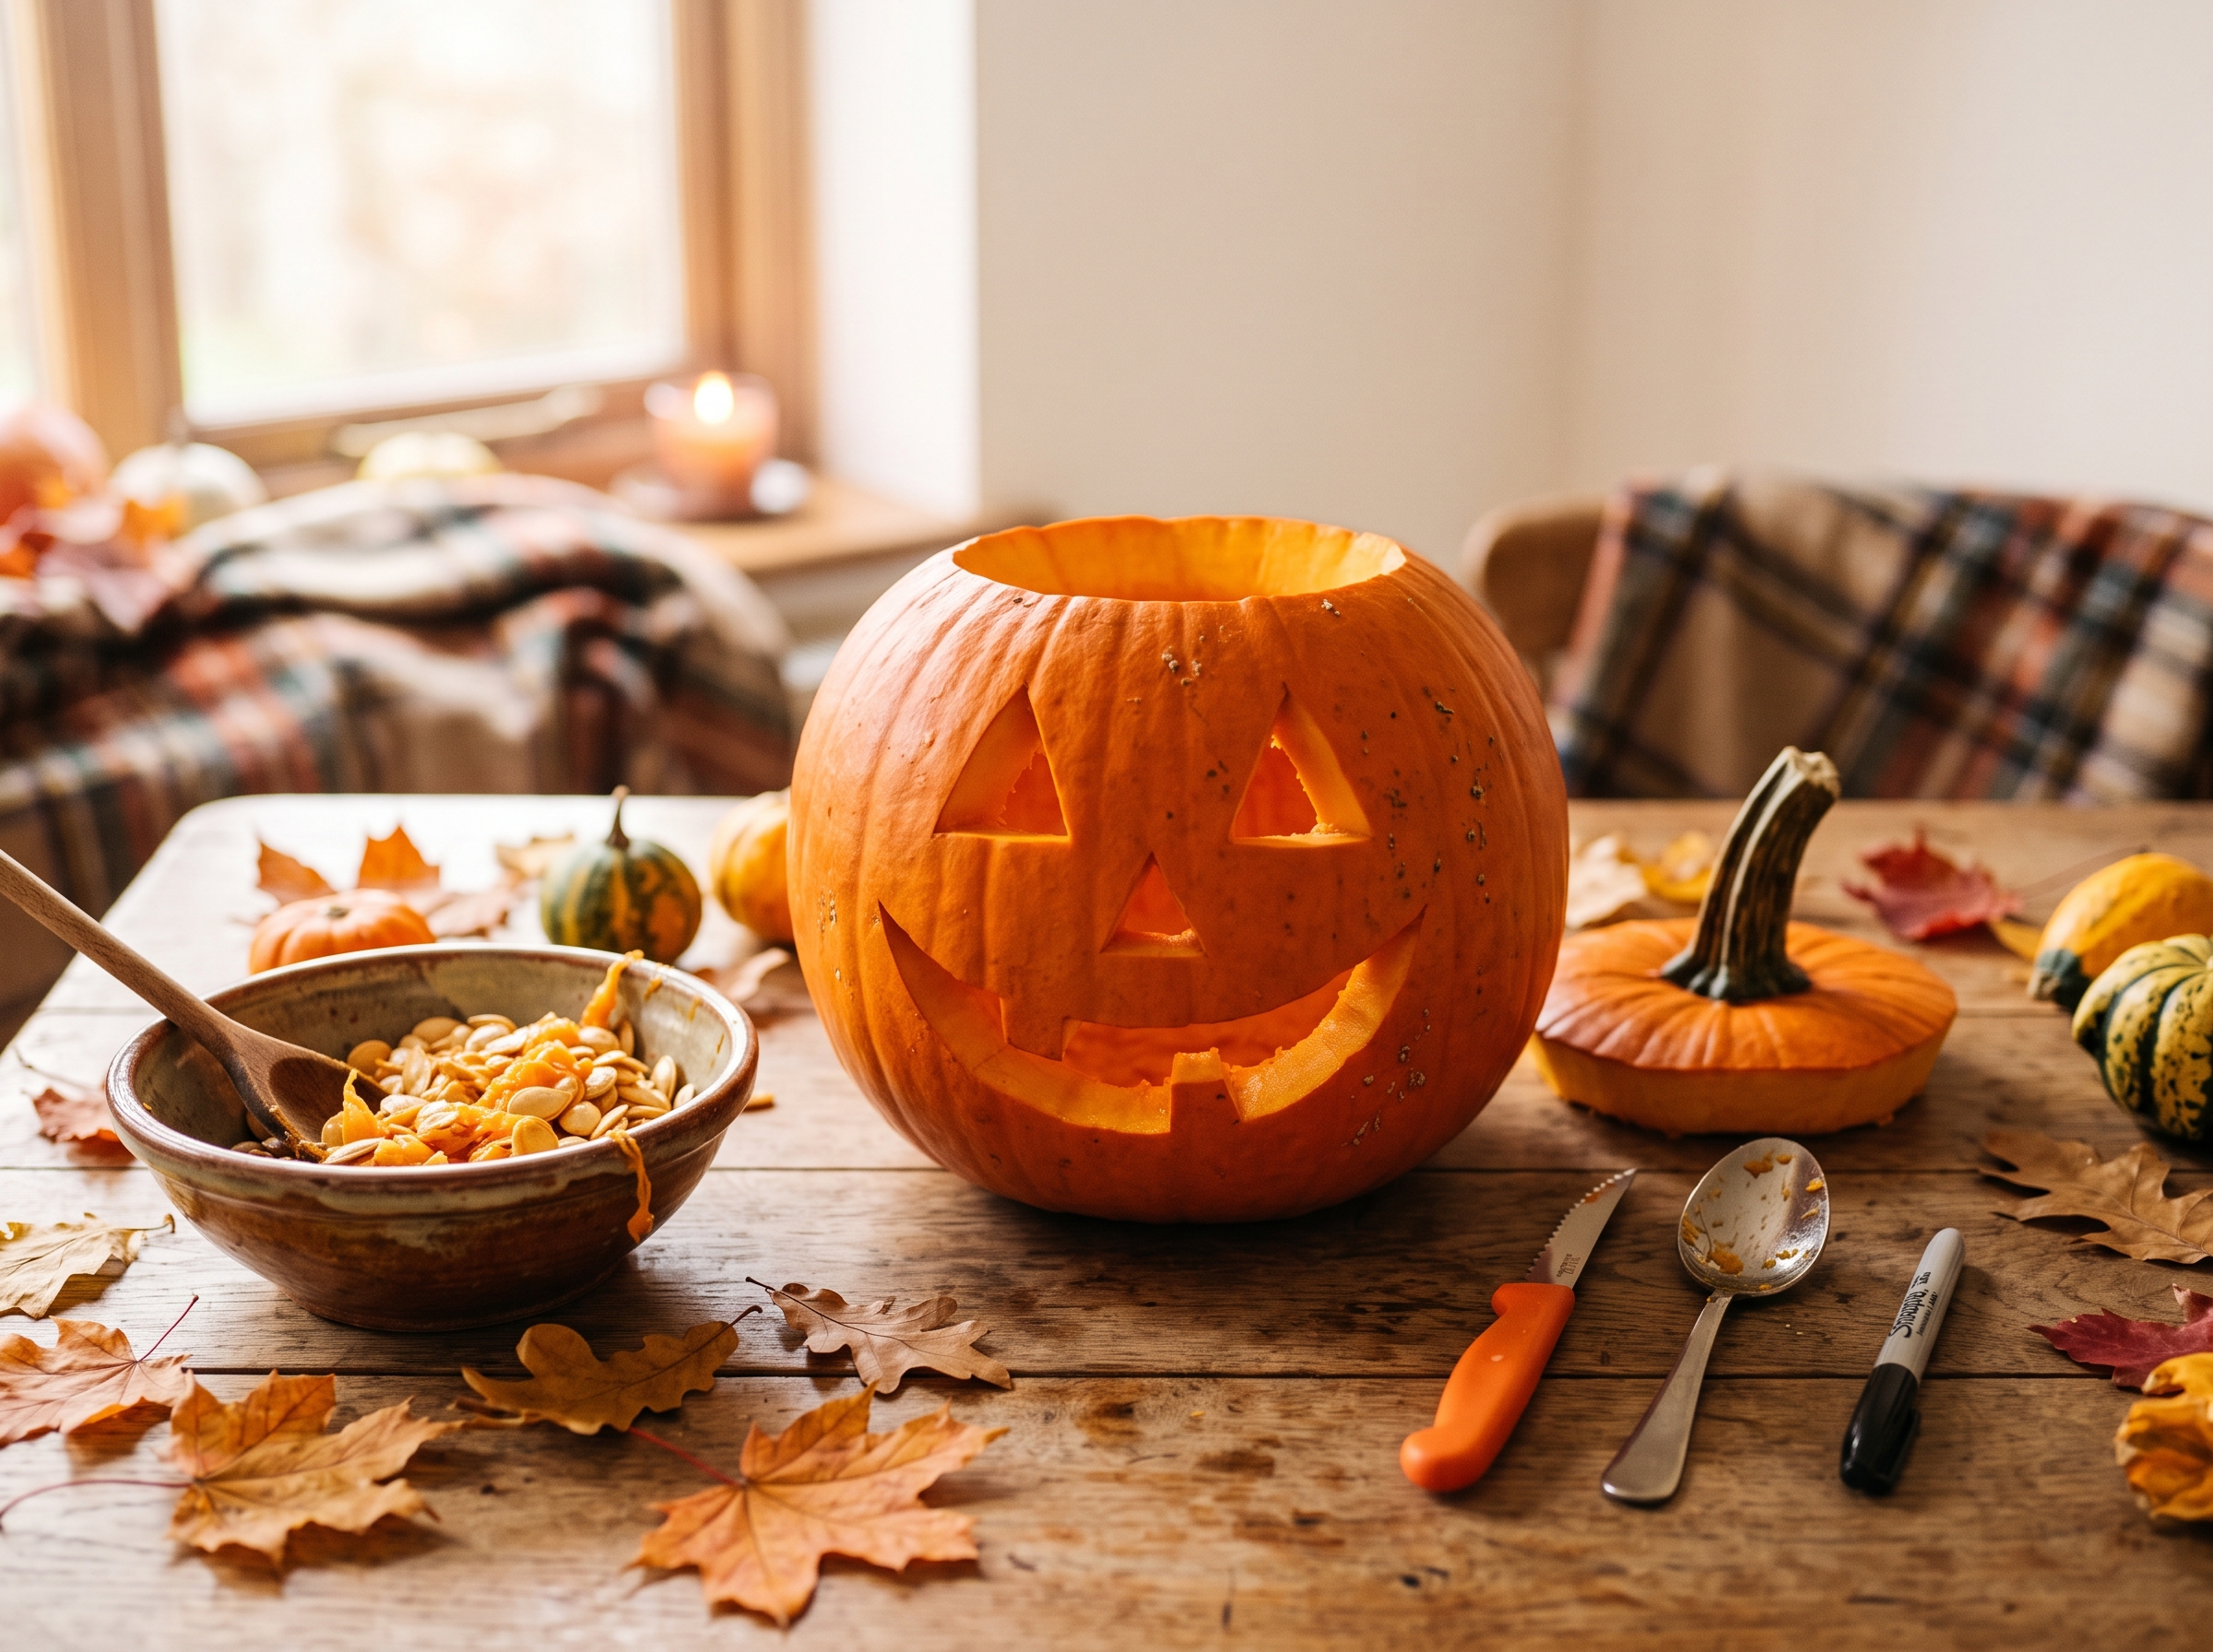
Carving a pumpkin is one of the most popular Halloween traditions, and you don’t need an expensive carving kit or professional skills to create a great-looking jack-o’-lantern. With a fresh pumpkin, a few simple kitchen tools, a little creativity, and some patience, you can make a spooky Halloween decoration at home.
Whether you’re carving your first pumpkin or looking for an easy family Halloween activity, this step-by-step pumpkin carving guide will show you how to choose the right pumpkin, prepare it, carve a simple design, and light it safely.
What You Need to Carve a Pumpkin
You can create a basic jack-o’-lantern with tools you may already have in your kitchen.
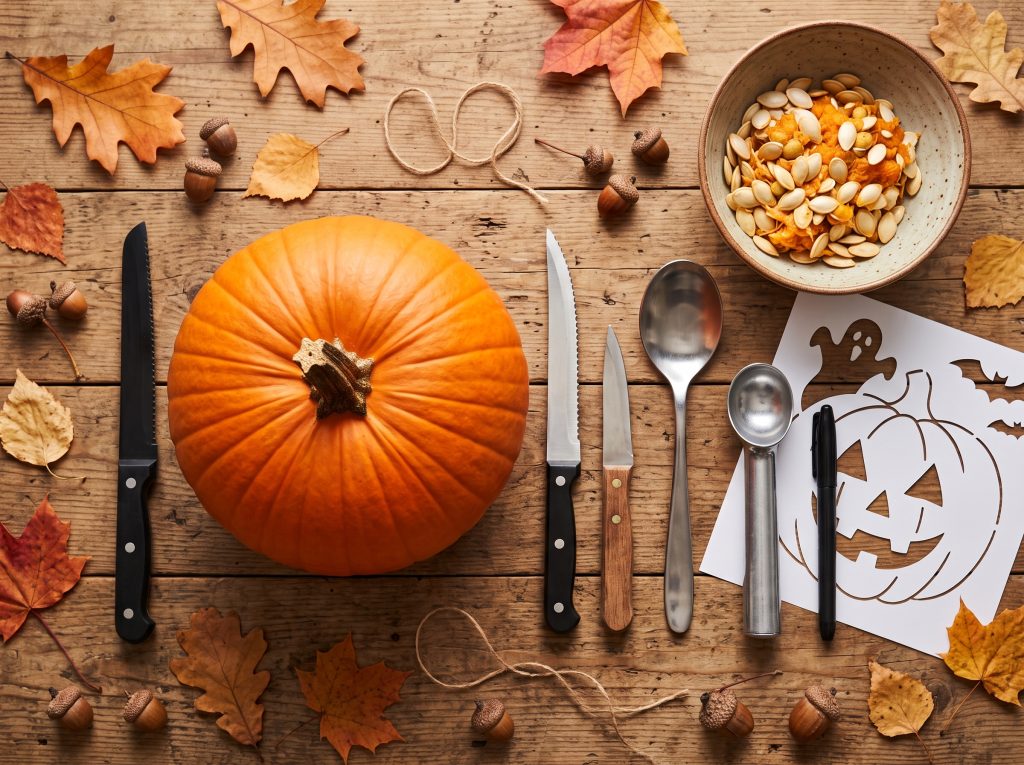
Essential tools
- A small serrated knife or paring knife
- A large spoon or ice cream scoop
- A marker or pencil
- A large bowl for pumpkin seeds and pulp
- A pumpkin carving template or stencil, if desired
Optional tools such as an apple corer, potato peeler, metal cookie cutters, or lemon zester can help create decorative patterns and different textures.
Safety tip: Pumpkin carving involves sharp tools. Children can help with drawing, scooping, and decorating, but adults should handle knives and other sharp carving tools.
How to Choose the Best Pumpkin for Carving
Choosing the right pumpkin makes carving much easier.
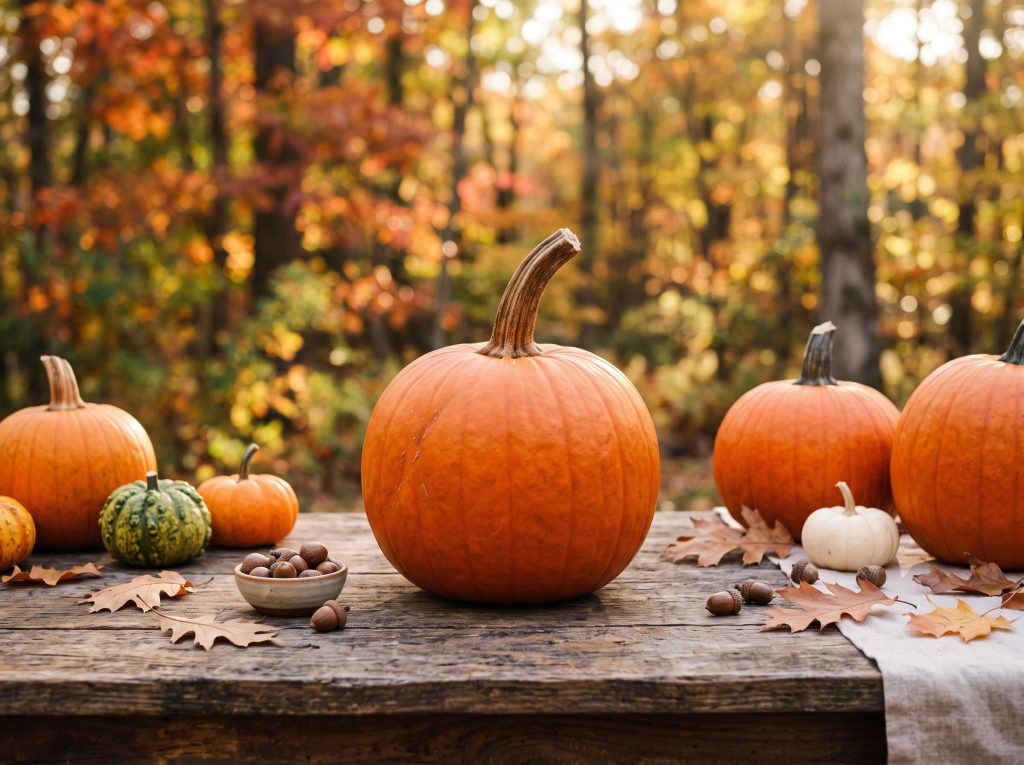
Look for a pumpkin that:
- Feels firm and fresh
- Has a sturdy stem
- Has bright, consistent coloring
- Doesn’t have obvious bruises or soft spots
- Has a reasonably flat bottom so it can stand securely
- Provides enough surface area for your chosen design
A stable pumpkin is particularly important because you don’t want it rolling while you’re trying to make detailed cuts.
How to Carve a Pumpkin Step by Step
Step 1: Prepare Your Workspace
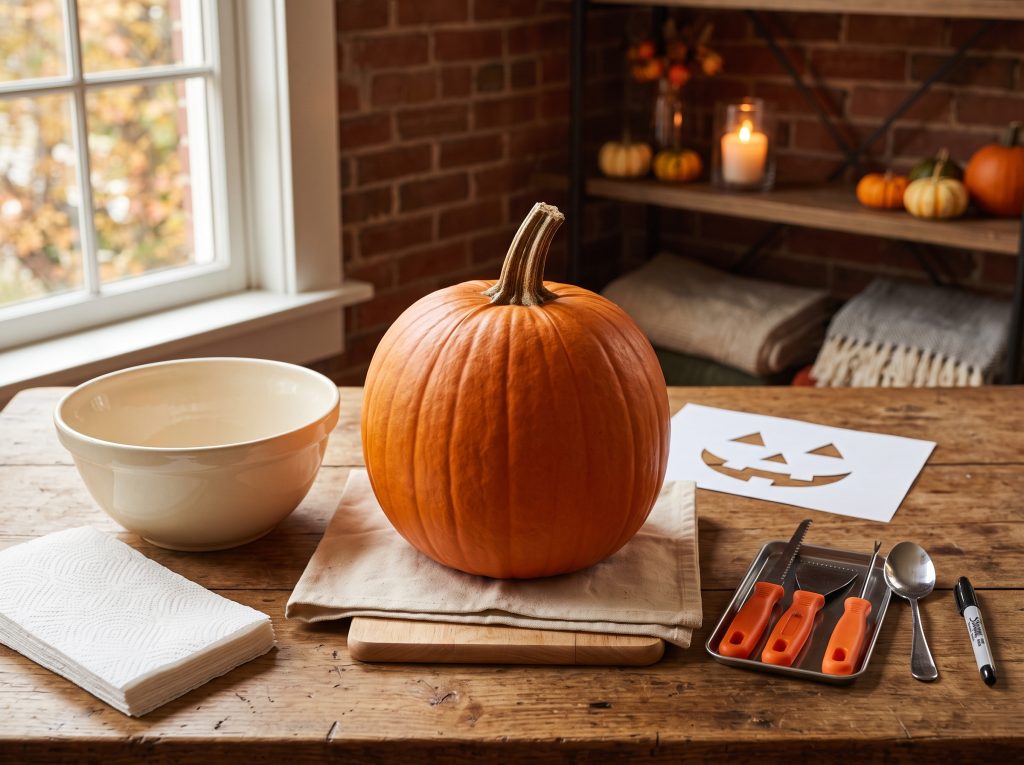
Place your pumpkin on a stable, protected work surface. Put a large bowl nearby for collecting the seeds, stringy fibers, and pumpkin flesh.
If you’re using a stencil, choose your design before you start cutting.
For beginners, a simple face with triangular eyes, a nose, and a wide mouth is an easy place to start.
Step 2: Cut Off the Top
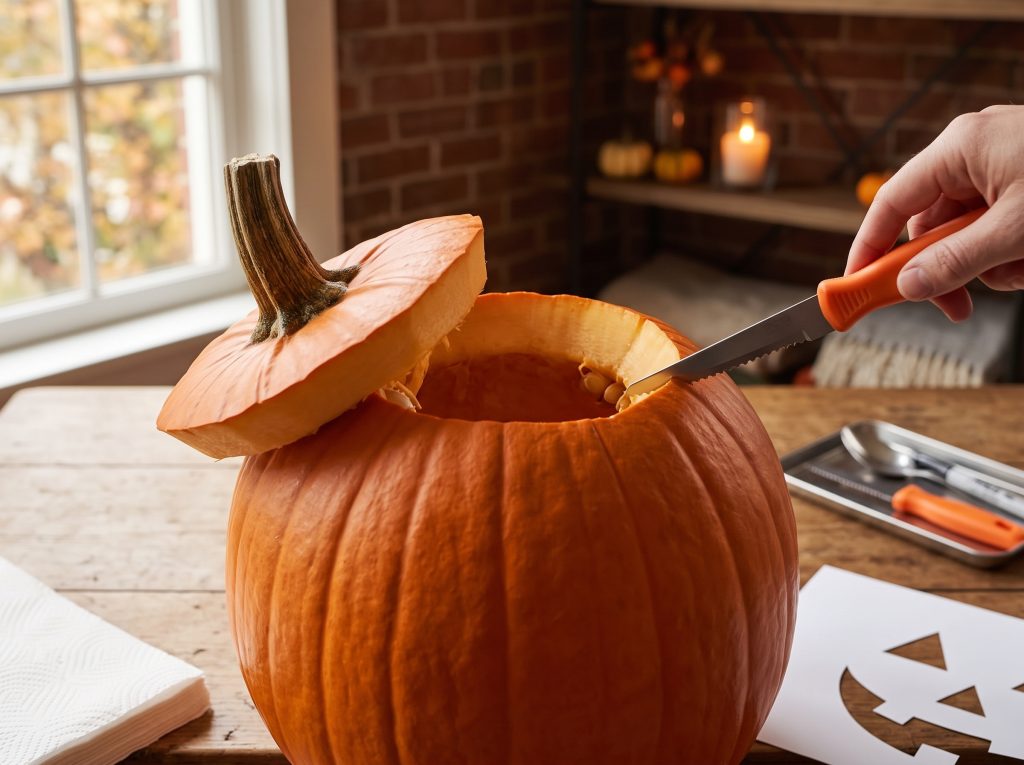
Using a small serrated knife, carefully cut around the top of the pumpkin to create a lid.
Angle the knife slightly inward as you cut. This helps create a lid that can sit securely when you put it back on.
Take your time rather than forcing the knife through the pumpkin.
Step 3: Scoop Out the Seeds and Pulp
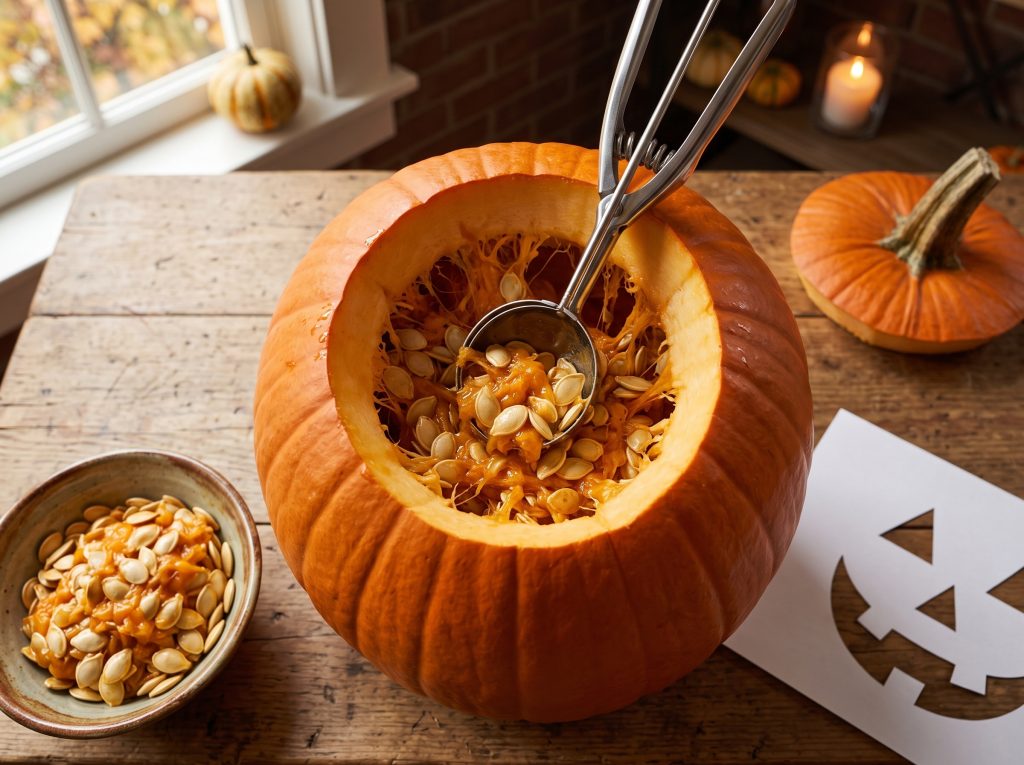
Remove the lid and use a large spoon or ice cream scoop to scrape out the seeds and stringy pumpkin fibers.
Continue scraping the inside until you have a reasonably clean cavity.
Don’t automatically throw away the seeds. Pumpkin seeds can be cleaned and roasted for a snack, helping reduce food waste.
Step 4: Draw Your Pumpkin Design
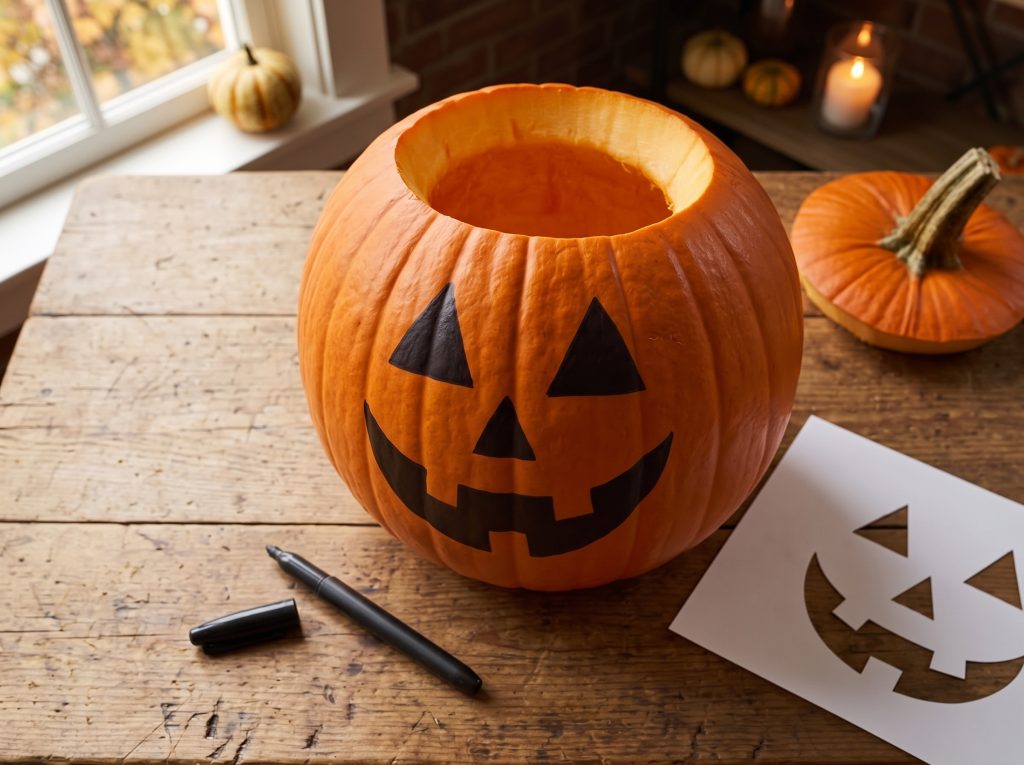
Use a marker or pencil to sketch your design directly onto the pumpkin.
For a classic jack-o’-lantern, draw:
- Two eyes
- A small nose
- A wide mouth
- A few triangular teeth
If you’re making a more complicated design, use a printed stencil. A paper design can be attached to the pumpkin and used as a guide for marking where cuts should be made.
Step 5: Start With the Largest Sections
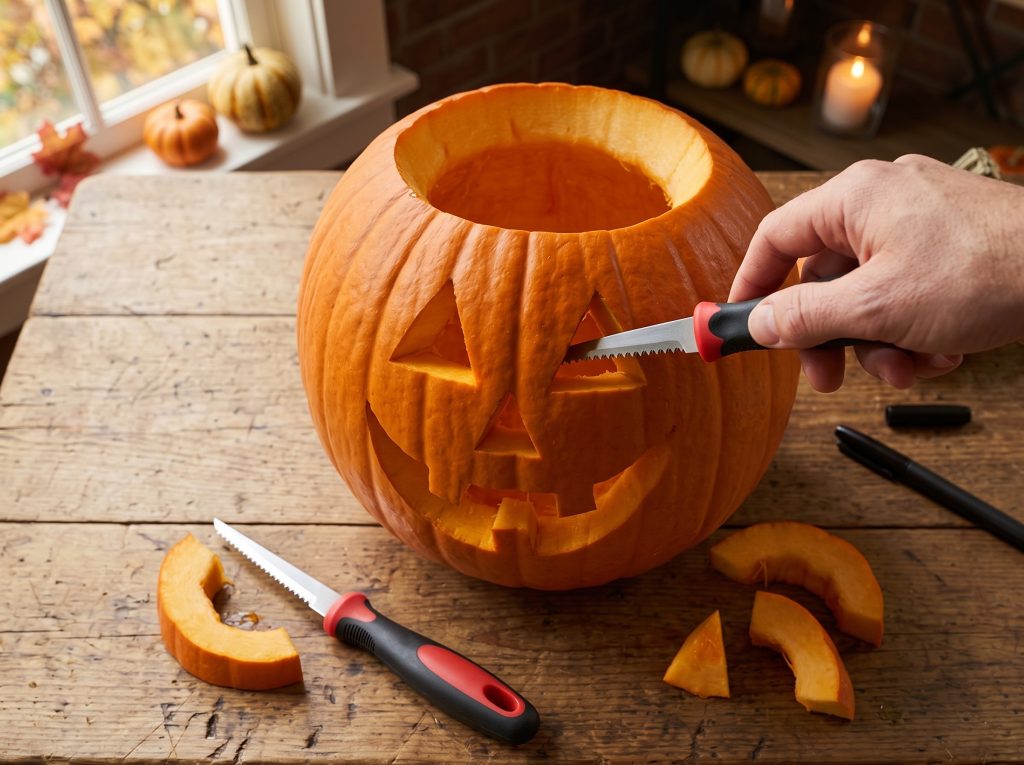
Begin by cutting the largest and simplest parts of your design.
Use a small serrated knife and make controlled cuts. Once the main pieces have been removed, you can tidy the edges and work on smaller details.
Avoid trying to cut everything perfectly on the first pass.
Step 6: Clean Up the Edges
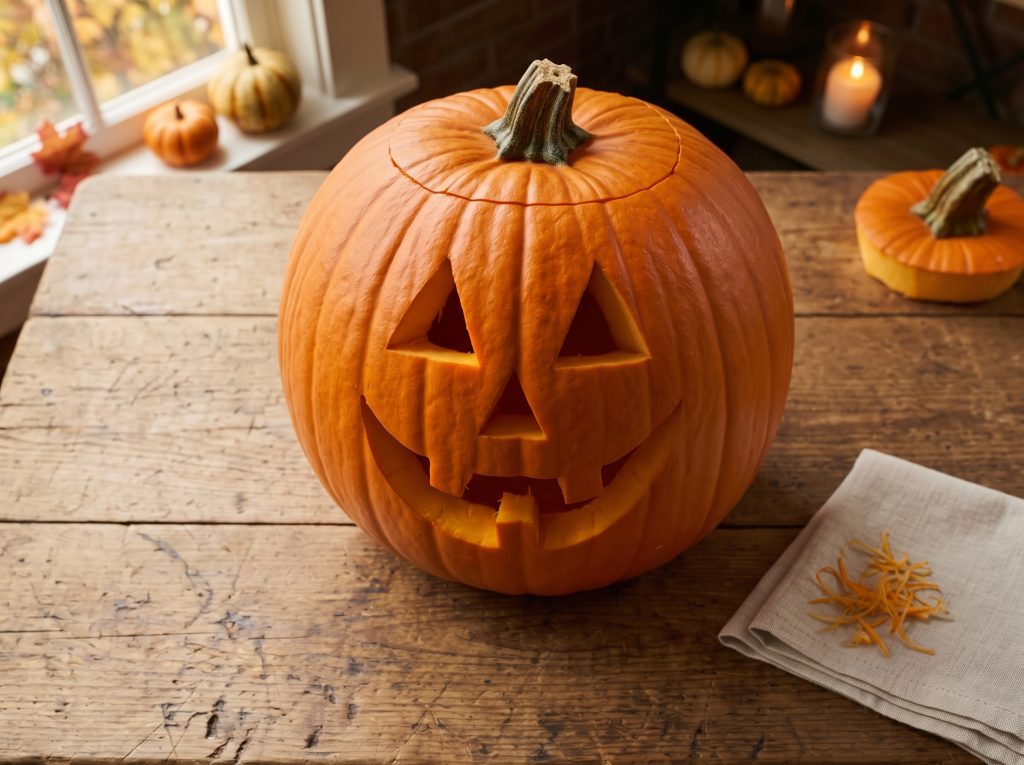
After removing the main pieces, inspect your design from the outside.
Trim rough edges where necessary and scrape away any remaining loose pieces of pumpkin flesh.
Cleaning the edges can make the design look much sharper when light shines through it.
Step 7: Add the Light
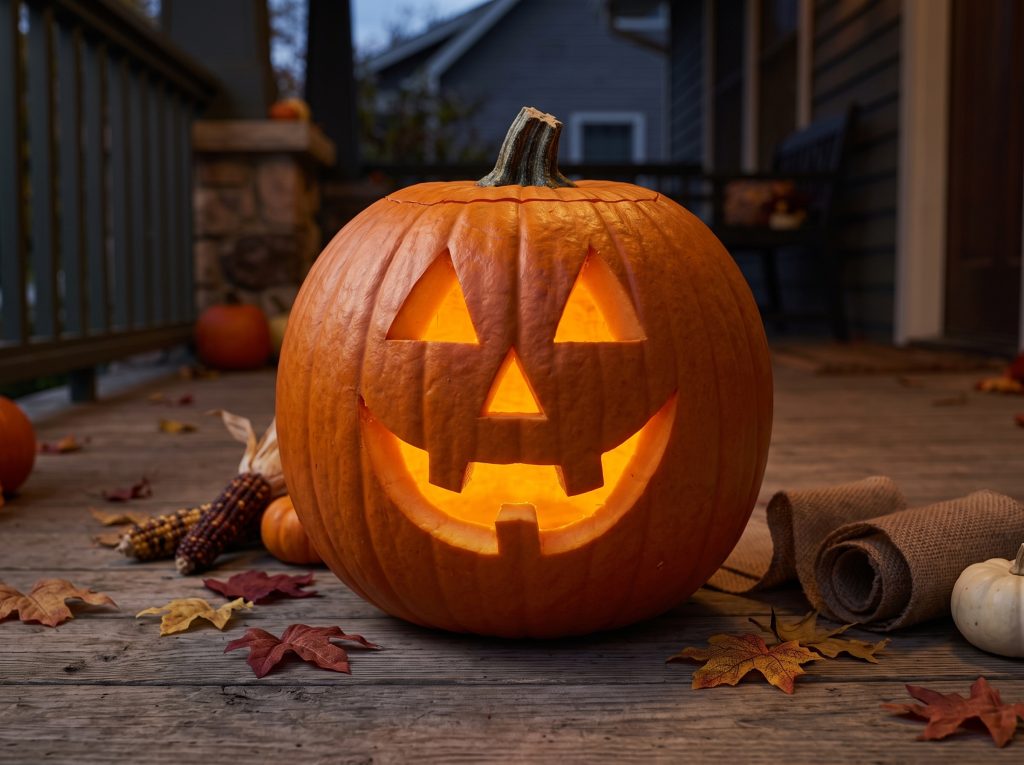
Place a small light inside the finished pumpkin.
A traditional tea light can create a warm flickering effect, but battery-operated LED or fake tea lights are a practical choice, particularly for outdoor displays or homes with children.
If using a real candle, keep the pumpkin away from flammable materials and never leave a lit candle unattended.
For outdoor pumpkins, battery-powered lights can also avoid problems caused by wind and rain.
How to Make Your Carved Pumpkin Last Longer
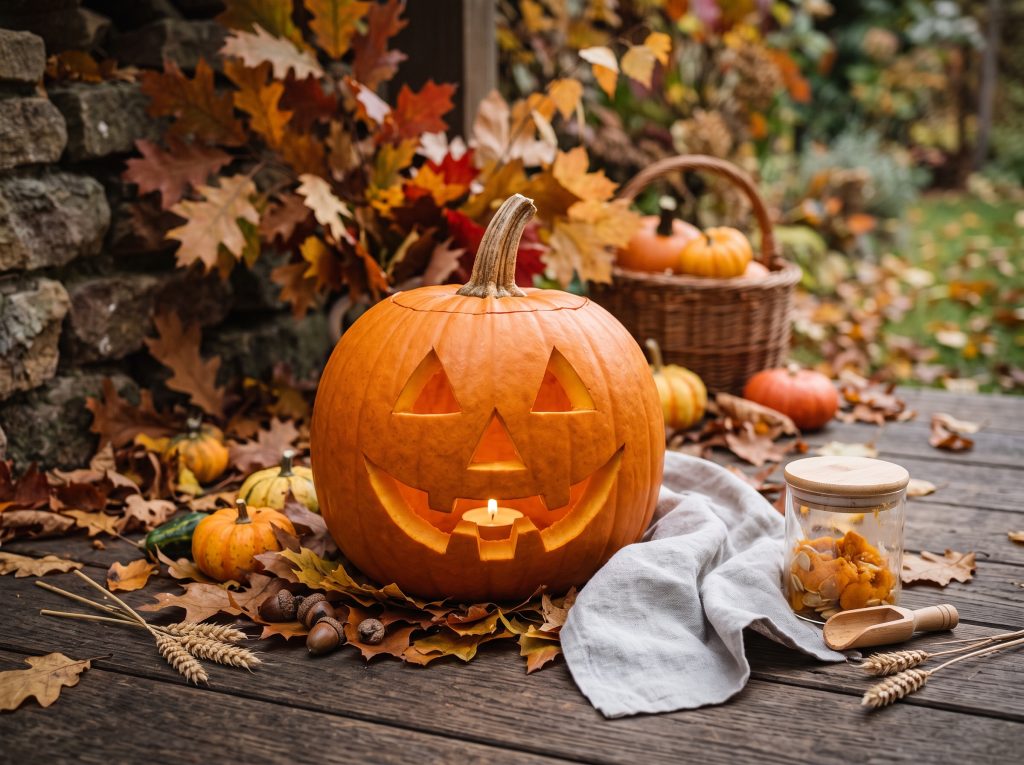
A carved pumpkin naturally begins to deteriorate after it has been cut.
To help keep it looking fresh:
- Choose a fresh pumpkin before carving.
- Keep it away from excessive heat and direct sunlight.
- Protect outdoor pumpkins from harsh weather.
- Store the pumpkin in a refrigerator when it isn’t being displayed, where practical.
- A thin layer of petroleum jelly around freshly cut edges may help slow drying.
The exact lifespan varies depending on temperature, moisture, sunlight, and other conditions. BBC Good Food notes that carved pumpkins commonly last around three to five days, although conditions can make that shorter or longer.
Easy Pumpkin Carving Ideas
You don’t have to make a traditional scary face. Try one of these simple Halloween designs:
Classic Jack-o’-Lantern
Create triangular eyes, a nose, and a crooked smile for a timeless Halloween look.
Cat Pumpkin
Carve cat eyes and a simple mouth, then add ears for a cute Halloween decoration.
Bat Pumpkin
Use a bat-shaped stencil to create a spooky silhouette.
Owl Pumpkin
Add large circular eyes and simple feather-inspired details.
Polka Dot Pumpkin
Create evenly spaced circular holes for a modern decorative design.
Haunted House Pumpkin
Carve a small haunted-house scene complete with windows, doors, and spooky trees.
Word or Letter Pumpkin
Carve a short Halloween message such as “BOO” or “EEK.”
Stencils can make more detailed designs easier, especially if you’re not comfortable drawing directly onto the pumpkin.
What to Do With Leftover Pumpkin
Don’t let the pumpkin seeds and usable flesh go to waste.
Pumpkin seeds can be cleaned, dried, seasoned, and roasted. Depending on the pumpkin variety and condition, usable pumpkin flesh can also be incorporated into soups, purées, baked goods, and other recipes.
However, pumpkins sold specifically for carving aren’t always the best choice for eating, so check the variety and condition before cooking with the flesh.
Frequently Asked Questions
What is the easiest way to carve a pumpkin?
The easiest method is to choose a stable pumpkin, cut off the top, scoop out the seeds and pulp, draw a simple face, and carefully cut along your design with a small serrated knife.
What knife should I use to carve a pumpkin?
A small serrated knife or paring knife can provide better control for detailed cuts than a large kitchen knife. Always handle sharp knives carefully.
Should I cut the pumpkin from the top or bottom?
A traditional jack-o’-lantern is commonly opened from the top by removing a lid. This makes it easy to access the inside and place a light in the finished pumpkin.
Can children carve pumpkins?
Children can participate in pumpkin decorating and activities such as drawing designs and scooping out the pumpkin. Adults should handle knives and other sharp tools.
How long does a carved pumpkin last?
A carved pumpkin often lasts around three to five days, although its lifespan depends on environmental conditions such as temperature, moisture, and sunlight.
Is it better to use a candle or LED light?
Both can illuminate a jack-o’-lantern, but battery-operated LED or fake tea lights avoid an open flame and are particularly useful for outdoor displays or households with children.
Final Tips for a Perfect Halloween Pumpkin
The secret to a great jack-o’-lantern isn’t complicated equipment. Start with a fresh, stable pumpkin, choose a design that matches your skill level, and take your time while cutting.
For your first pumpkin, keep the design simple. Once you’re comfortable with the basic technique, you can experiment with stencils, layered carving, patterns, letters, silhouettes, and more intricate Halloween designs.
Most importantly, make pumpkin carving a fun Halloween activity rather than trying to create a perfect design. A little character and imperfection can make your jack-o’-lantern even more memorable.